Section divider

Automating Software Marketing Screenshots with Code

By Dennis Gurock
14 min read
Automating Software Marketing Screenshots with Code

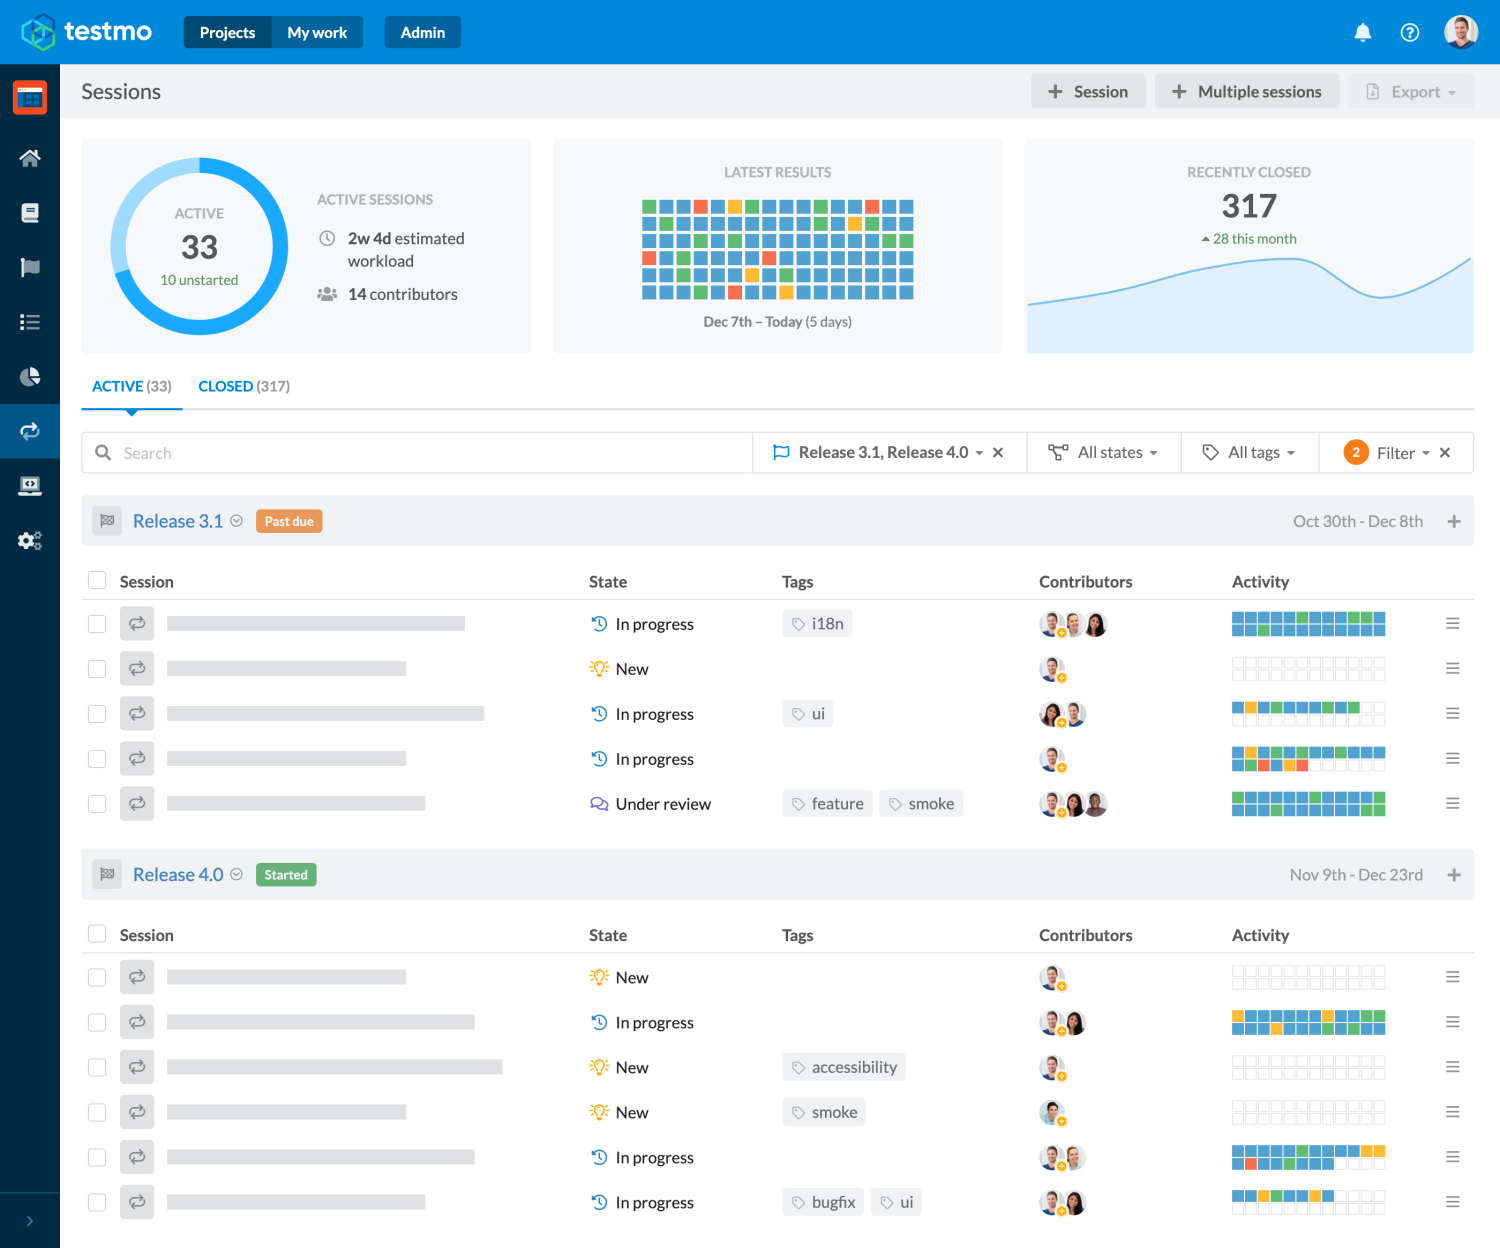
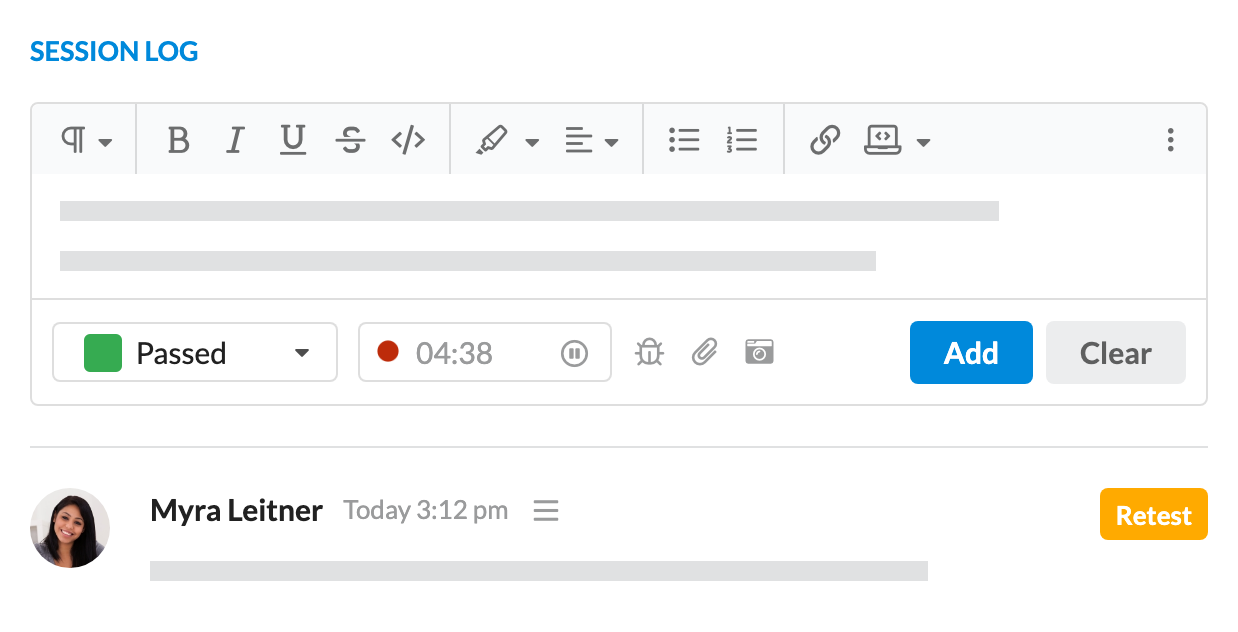
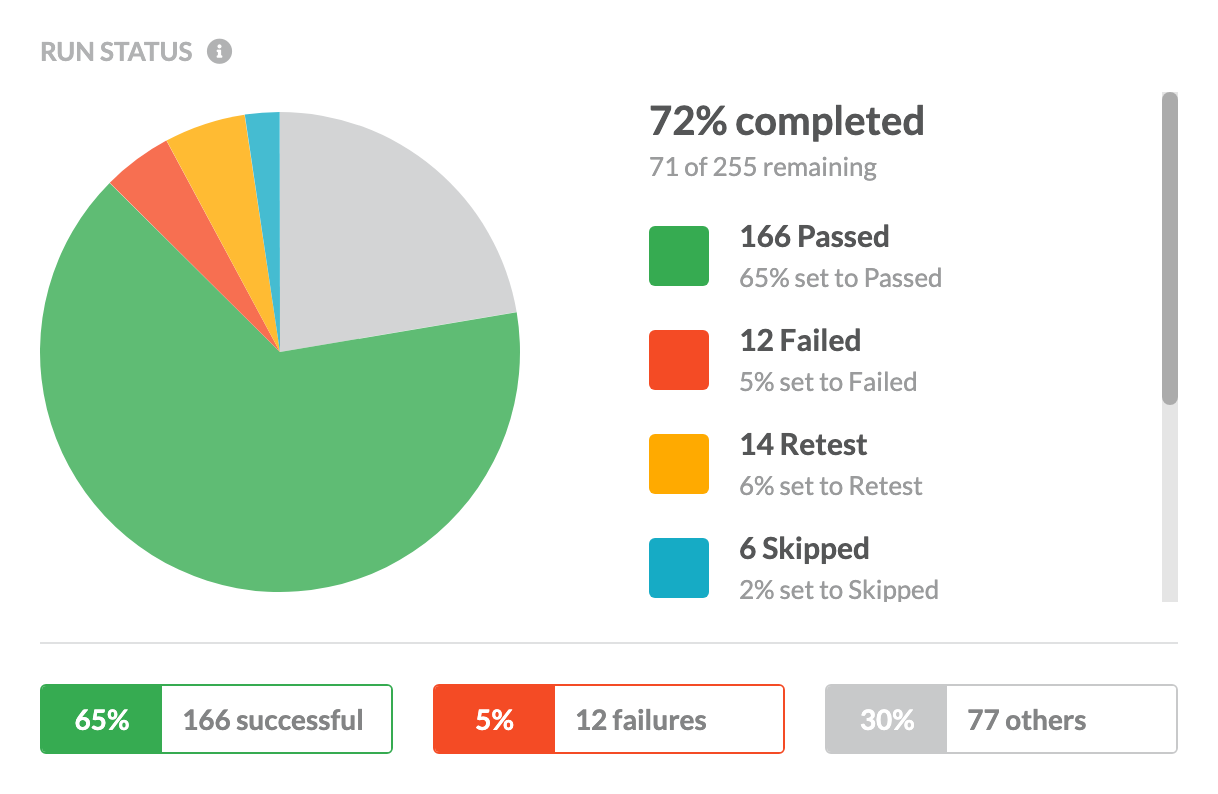
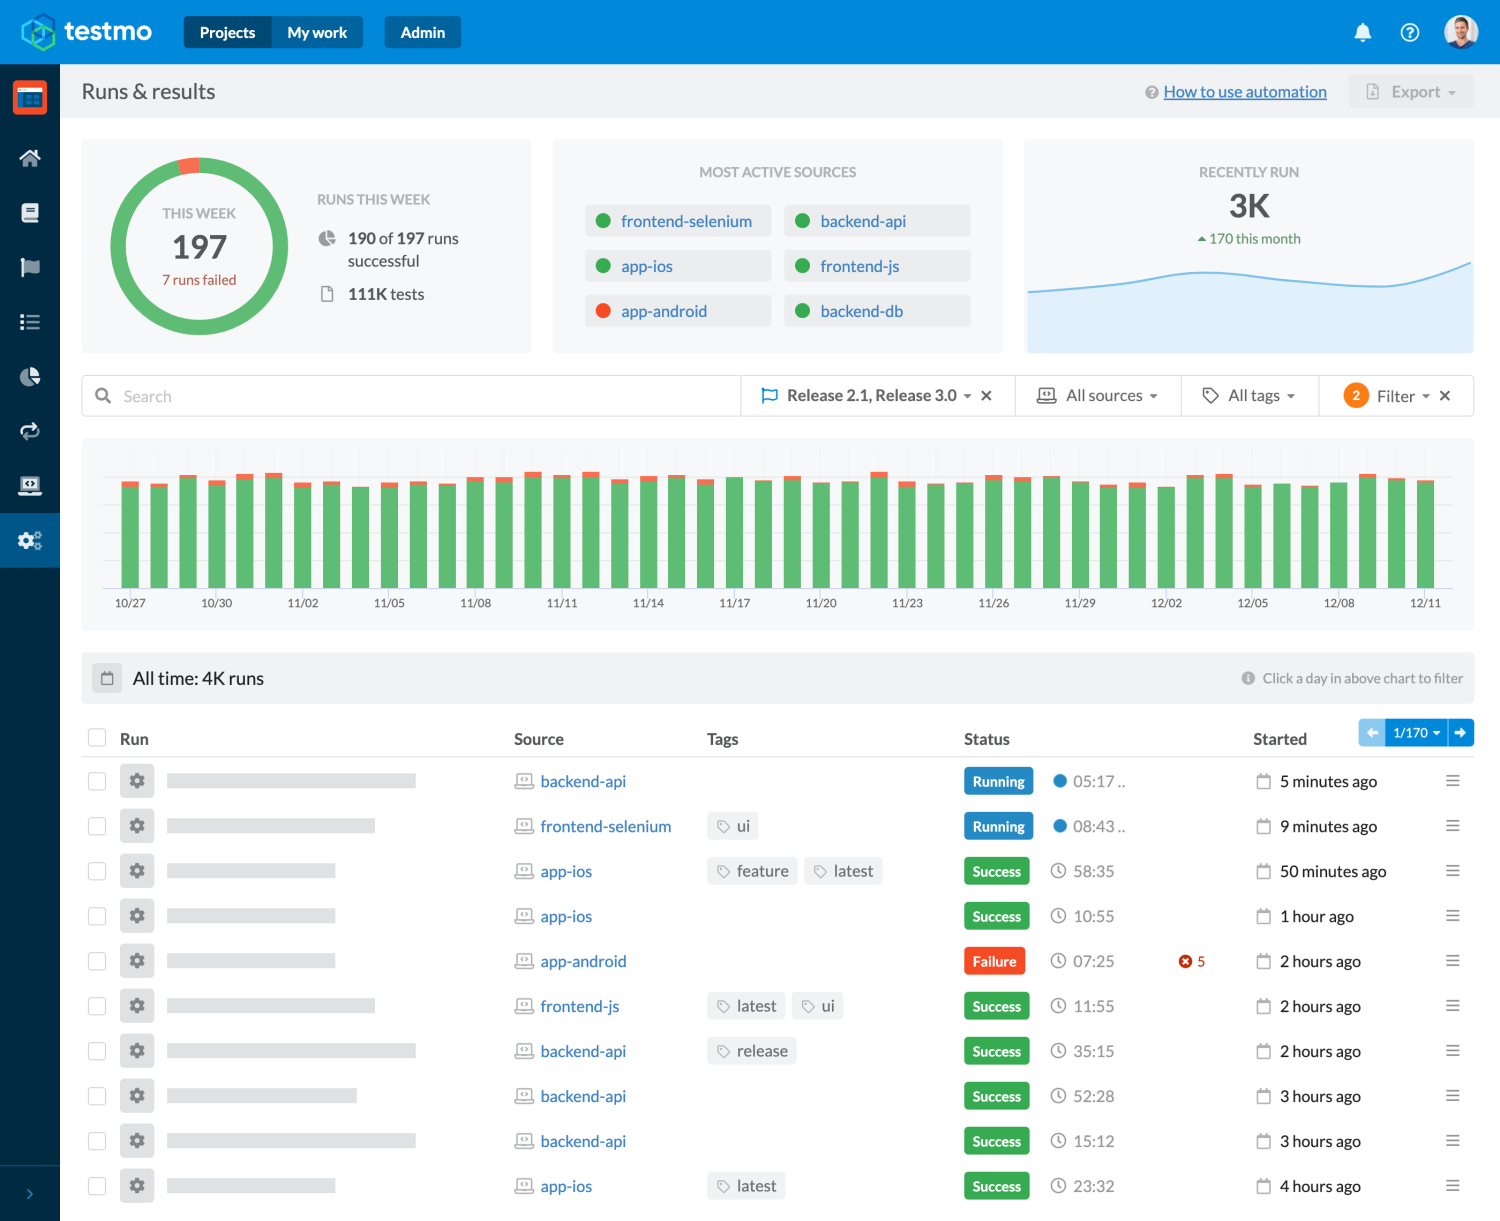
Summary: Great marketing screenshots are time consuming to create and don't age well. Here's how we improve this with browser automation & code.

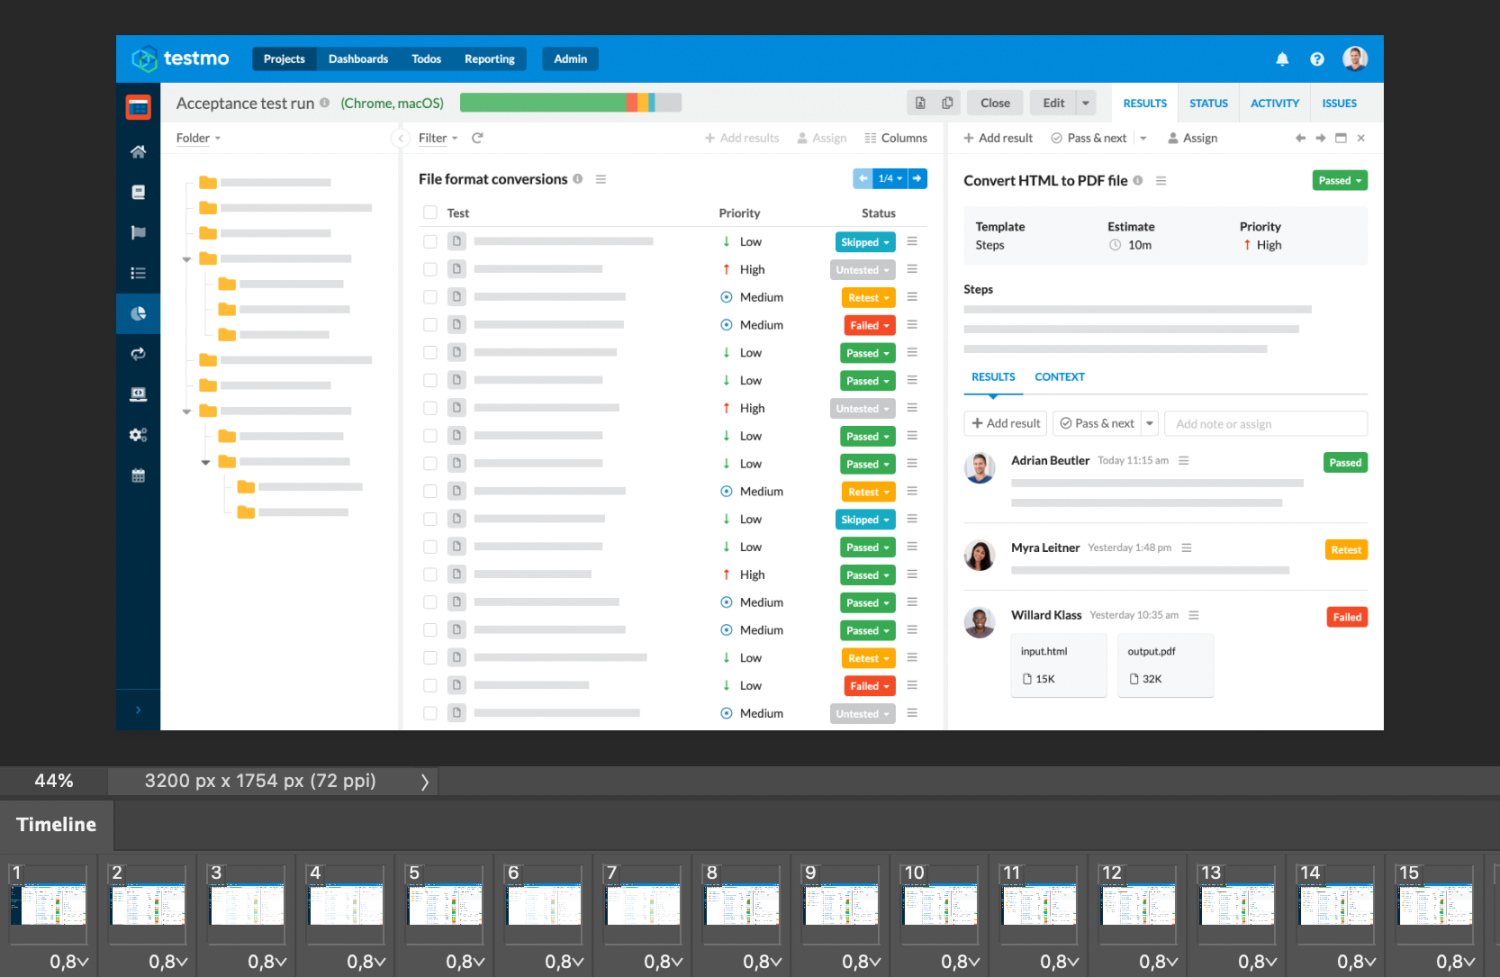
Producing great looking screenshots for software marketing websites can be surprisingly difficult and time consuming. It usually involves preparing the app with sample data, editing the images to hide irrelevant details, cropping to specific sizes and overriding texts (such as dates or names).

With dozens of screenshots for a typical product website plus regular blog postings for new feature releases, this can amount to a lot of work.

And then there's updates. Changing the design of the app's nav bar? Implementing a color refresh? Adding a major feature that impacts many areas of the app? You have to re-do all the screenshots, or accept that your website slowly gets out of sync (and customers missing all the new stuff you've been working on).

Designing good looking screenshots has always been one of our least favorite parts of building our marketing site. So for our new test management tool Testmo we wanted to try something different.

Automation To The Rescue

We have been using Selenium extensively to automatically verify Testmo's frontend functionality. We noticed that this provided a great platform to automatically generate screenshots as well. By using custom code and Selenium we could easily:

  • prepare the database with suitable sample data via our models;
  • fine-tune the browser window for the screenshot size and pixel ratio (and enforce Retina resolution);
  • improve details with a few CSS overrides here and there;
  • and replace content with placeholders from JavaScript.

Here's a (slowed down) video of generating a complex product screenshot for our home page:

Automatically generating a complex product screenshot of Testmo (video slowed down).

The result is a ready-to-use PNG file that can be directly copied to our static site repo – no post-processing needed. The main code to generate the above screenshot is just 60 lines, plus some common code to set up the test data.

It would have been quite time consuming to manually prepare the screenshot, fine-tune all details and post-process and replace content in an image editor; especially considering the recurring work every time the UI changes or the screenshots require a refresh.

Optimizing Screenshots From Code

We use a couple of tactics to reduce the amount of code required to generate screenshots (it's a fun side project, but we'd rather spend more time working on the app itself), as well as making the code more future-proof and robust. We also want our screenshots to convey the main benefits and features of our app, so we fine-tune the content and automatically add placeholder overlays. Here are a few tips for optimizations we use in our code:

Placeholder overlays

You've likely noticed text placeholders used in screenshots on other sites. These small gray bars are popular with designers as they can leave out unnecessary details that would be irrelevant to showcase a certain feature. They are also helpful to highlight certain functionality such as folder structures or complex tables without having to present dull sample texts.

Usually such placeholders are added by designers manually in their design app. But there's no reason we can't automatically add these from our code as well. We simply apply a CSS class to all relevant elements to hide the texts and show a placeholder block.

.placeholder {
    position: relative;
    color: transparent;

    &:after {
        display: block;
        content: '';
        position: absolute;
        right: 0;
        left: 0;
        top: 50%;
        margin-top: -5px;
        height: 10px;
        background: #e0e1e2;
    }
}

Adding placeholder bars with a few lines of custom styles.

Croping screenshots to DOM elements

We often don't want to include the whole app navbar or similar common elements in our screenshots. For most screenshots we prefer to focus on just the feature or area of the app we want to highlight. You could of course crop the screenshot manually in your favorite image editor, but there's a better way to automate all this in your code as well.

Instead of manually croping screenshots, simply get the position and size of a DOM element via JavaScript and then resize the image based on these coordinates. This has the additional benefit of making the code much more robust and future-proof: if elements in the UI change, the screenshots are automatically adjusted accordingly. We can also translate the coordinates we get from JS to actual pixels by taking the pixel ratio into account (see Retina resolution below).

public function cropScreenshotToSelector($image, $selector) {
    $ratio = $this->getDevicePixelRatio();
    $position = $this->getSelectorPosition($selector);
    $image->crop($position['width'] * $ratio, $position['height'] * $ratio,
        $position['windowLeft'] * $ratio, $position['windowTop'] * $ratio);
}

Croping an image to an element's window position.

Fine-tune with style overrides

Sometimes there are a couple of things we want to fine-tune in the UI to make the resulting screenshot easier to understand or to make them look nicer. This is very easy to do simply by injecting a few custom styles from our code. The nice thing about this approach is that we can always just change these details later and re-generate screenshots at any time - no manual updating of images required. Here are a couple of examples of typical things we do in our screenshot code:

// Hide vertical scrollbar to adjust visible list size
$this->setSelectorCss('.element', 'overflow-y', 'hidden');

// Reset background to optimize color for the website
$this->setSelectorCss('.element', 'background', 'none');

// Hide element irrelevant for the feature we want to highlight
$this->setSelectorCss('.element', 'display', 'none');

// Override responsive grid layout to better match window size
$this->setSelectorCss('.element', 'grid-template-columns', '1fr 1fr 1fr');

Adjusting various elements to fine-tune screenshot for website.

Retina resolution for best quality

We noticed that the resulting screenshots had the same pixel ratio and resolution as the display our Selenium code runs on. So if the browser window started on the Macbook's display, the resulting screenshot had a Retina (2x) resolution, resulting in more detailed fonts and vector image rendering. On our external displays with regular DPI, each pixel in the screenshot mapped to a pixel of our screen. We wanted to ensure that all our screenshots were created with a high resolution, regardless of how and when they were generated, as this makes the screenshots much more flexible to use on our website.

Fortunately there's a way to force Chrome's pixel ratio from the command line, so the resulting screenshots were taken with 2x resolution even if Chrome runs on a regular display (or even headless). The only thing left was to detect the pixel ratio in our code as well, so we could multiply all dimensions we got from JavaScript for e.g. croping.

// From the command line, force Chrome to use a specific pixel ratio
$ chrome --force-device-scale-factor=2 [..]

// Then detect the pixel ration in your code (from Selenium)
public function getDevicePixelRatio() {
    return $this->driver->executeScript('return window.devicePixelRatio');
}

Enforce Chrome's pixel ratio and detect it from Selenium/JavaScript.

Videos and animations

What about generating videos such as small feature walk-through animations? These are even more time consuming and error prone to build manually. Luckily, generating animations is pretty straightforward from code as well. Simply take a screenshot for every change/frame you want to include. Import the resulting screenshots into Photoshop or another image editor, and export the frames to MP4 or GIF (I'm sure you could also easily automate this from the command line if you wanted to). The short animation at the beginning of this article was generated this way.

Is It Worth It?

You might be wondering if writing custom code and spending dev time on something seemingly trivial such as website screenshots is worth it. We have been trying to automate many aspects of getting Testmo ready and prefer to have as many bits and pieces in code rather than having manual repetetive tasks to go through in the future.

In our experience, manually building and regularly updating screenshots is an absolute time sink, especially if you want them to look great. We would rather work on new app features or adding more content to our website. Automating the task of generating screenshots is a great way for us to save time and hassle in the future. And with our existing Selenium code it was almost trivial to get this up and running.

So if you have a lot of screenshots to build and want to make sure they are automatically updated and look great, give it a try.

Start Testing with Testmo Free

#1 Unified Modern Test Management Software
Test automation runs
Test automation command line

PS: We regularly publish original software testing & QA research, including free guides, reports and news. To receive our next postings, you can subscribe to updates. You can also follow us on Twitter and Linkedin.

Section divider
More from Testmo
Learning test automation is a significant boost to your software testing arsenal. Our guide provides a great starting point to become a more productive and valuable software tester.
Read full article
We are introducing new features to better track the test case coverage & latest status, automation linking, plus various improvements to help teams work with manual & automated tests.
Read full article
This guide explains how to set up and run your automated tests as part of a GitHub Actions CI workflow, plus reporting test results to test management.
Read full article

Start testing with Testmo for free today

Unified modern test management for your team.