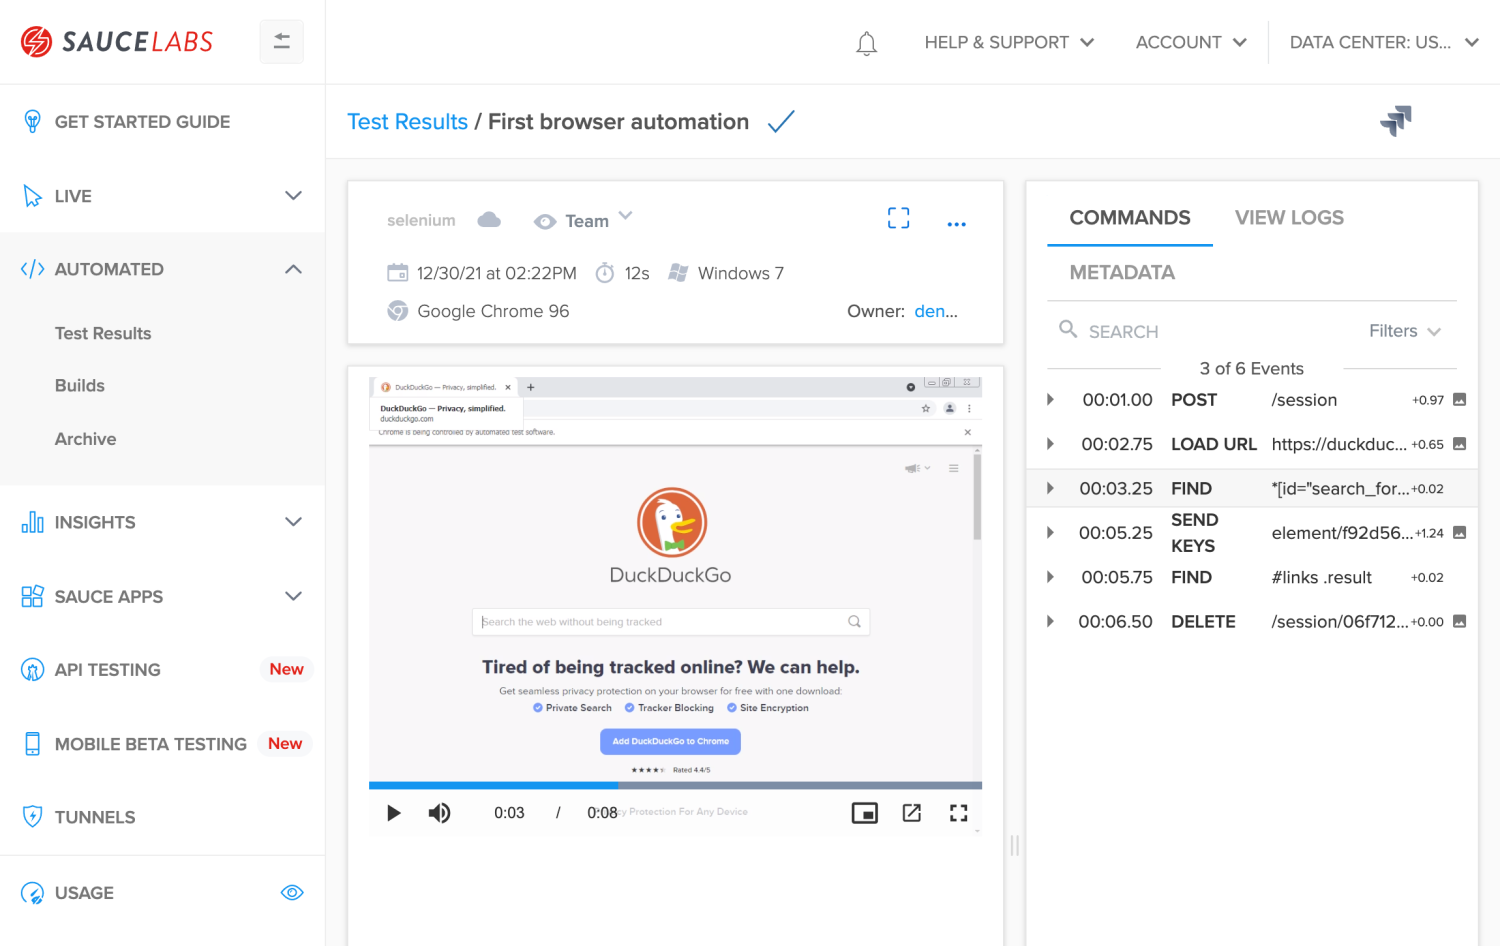
Sauce Labs is a popular service that allows you to run automated Selenium tests (as well as many other frameworks) against various browser, OS and version combinations. When you develop your frontend tests and want to run them against many different platforms, it can be time-consuming and difficult to set up and maintain a large Selenium Grid installation with all these configurations.
Selenium cloud services such as Sauce Labs provide a ready-to-use and scalable platform to run your browser tests quickly. In this guide we will look at all the details to get started:
- Setting up the initial project
- Starting with Selenium automation
- Running our tests against Sauce Labs
- Setting up a full test suite with Sauce Labs
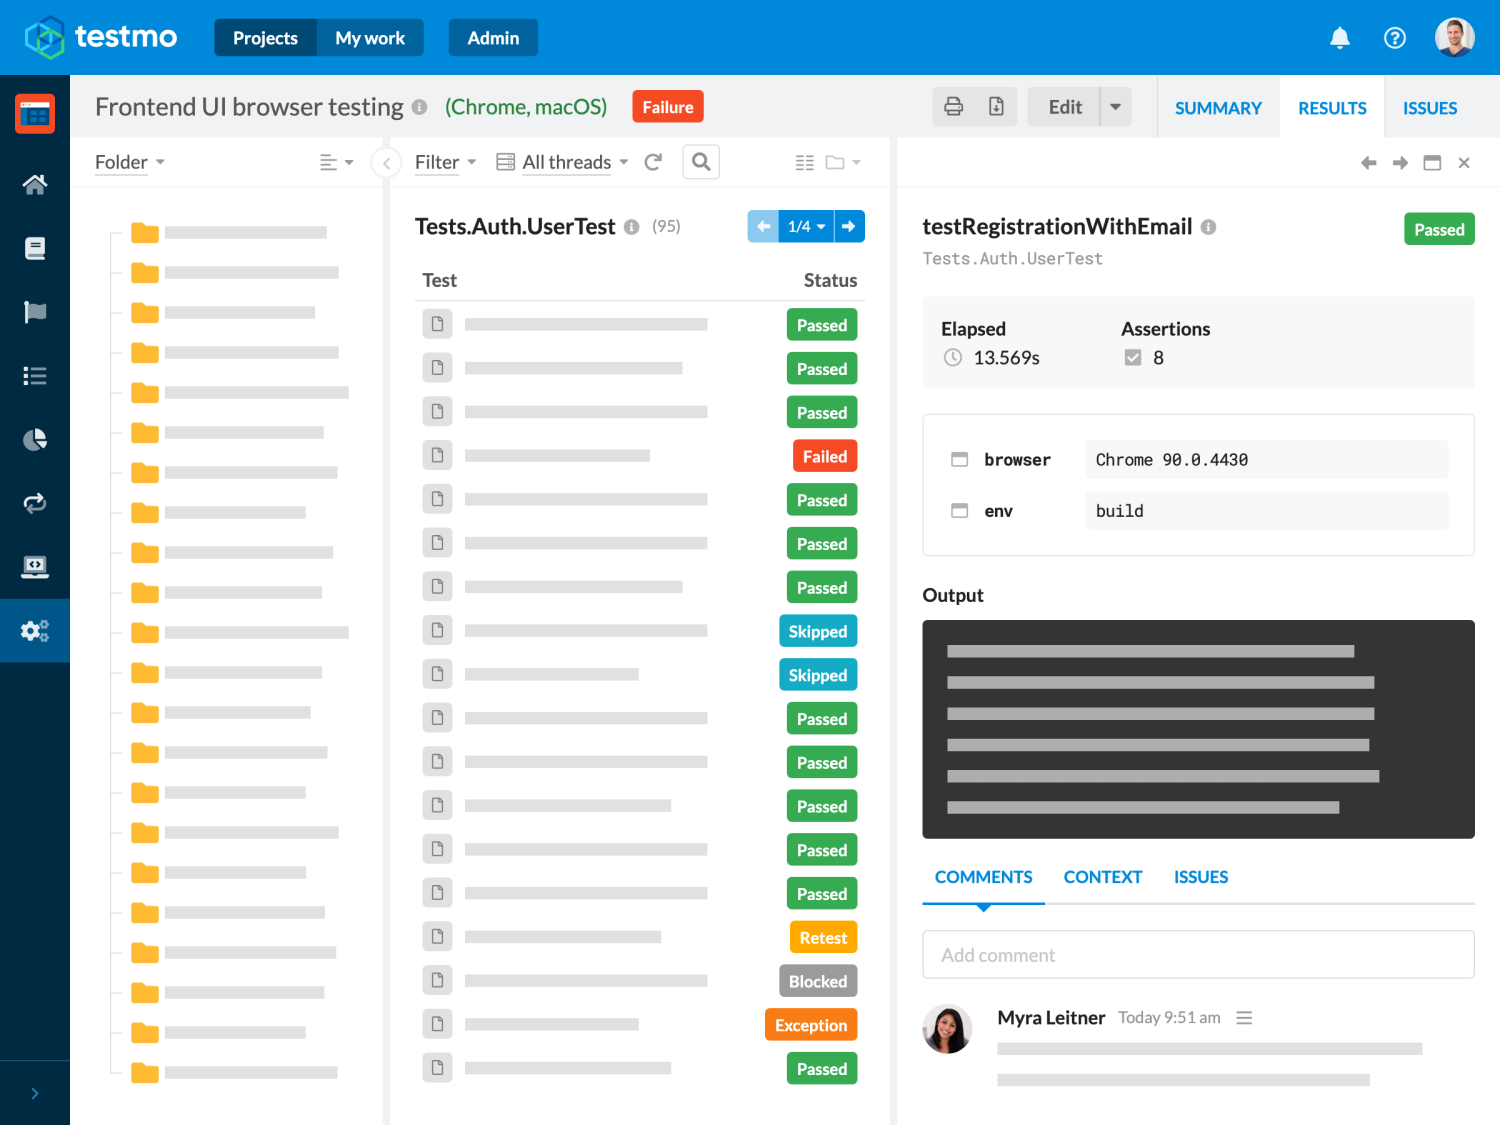
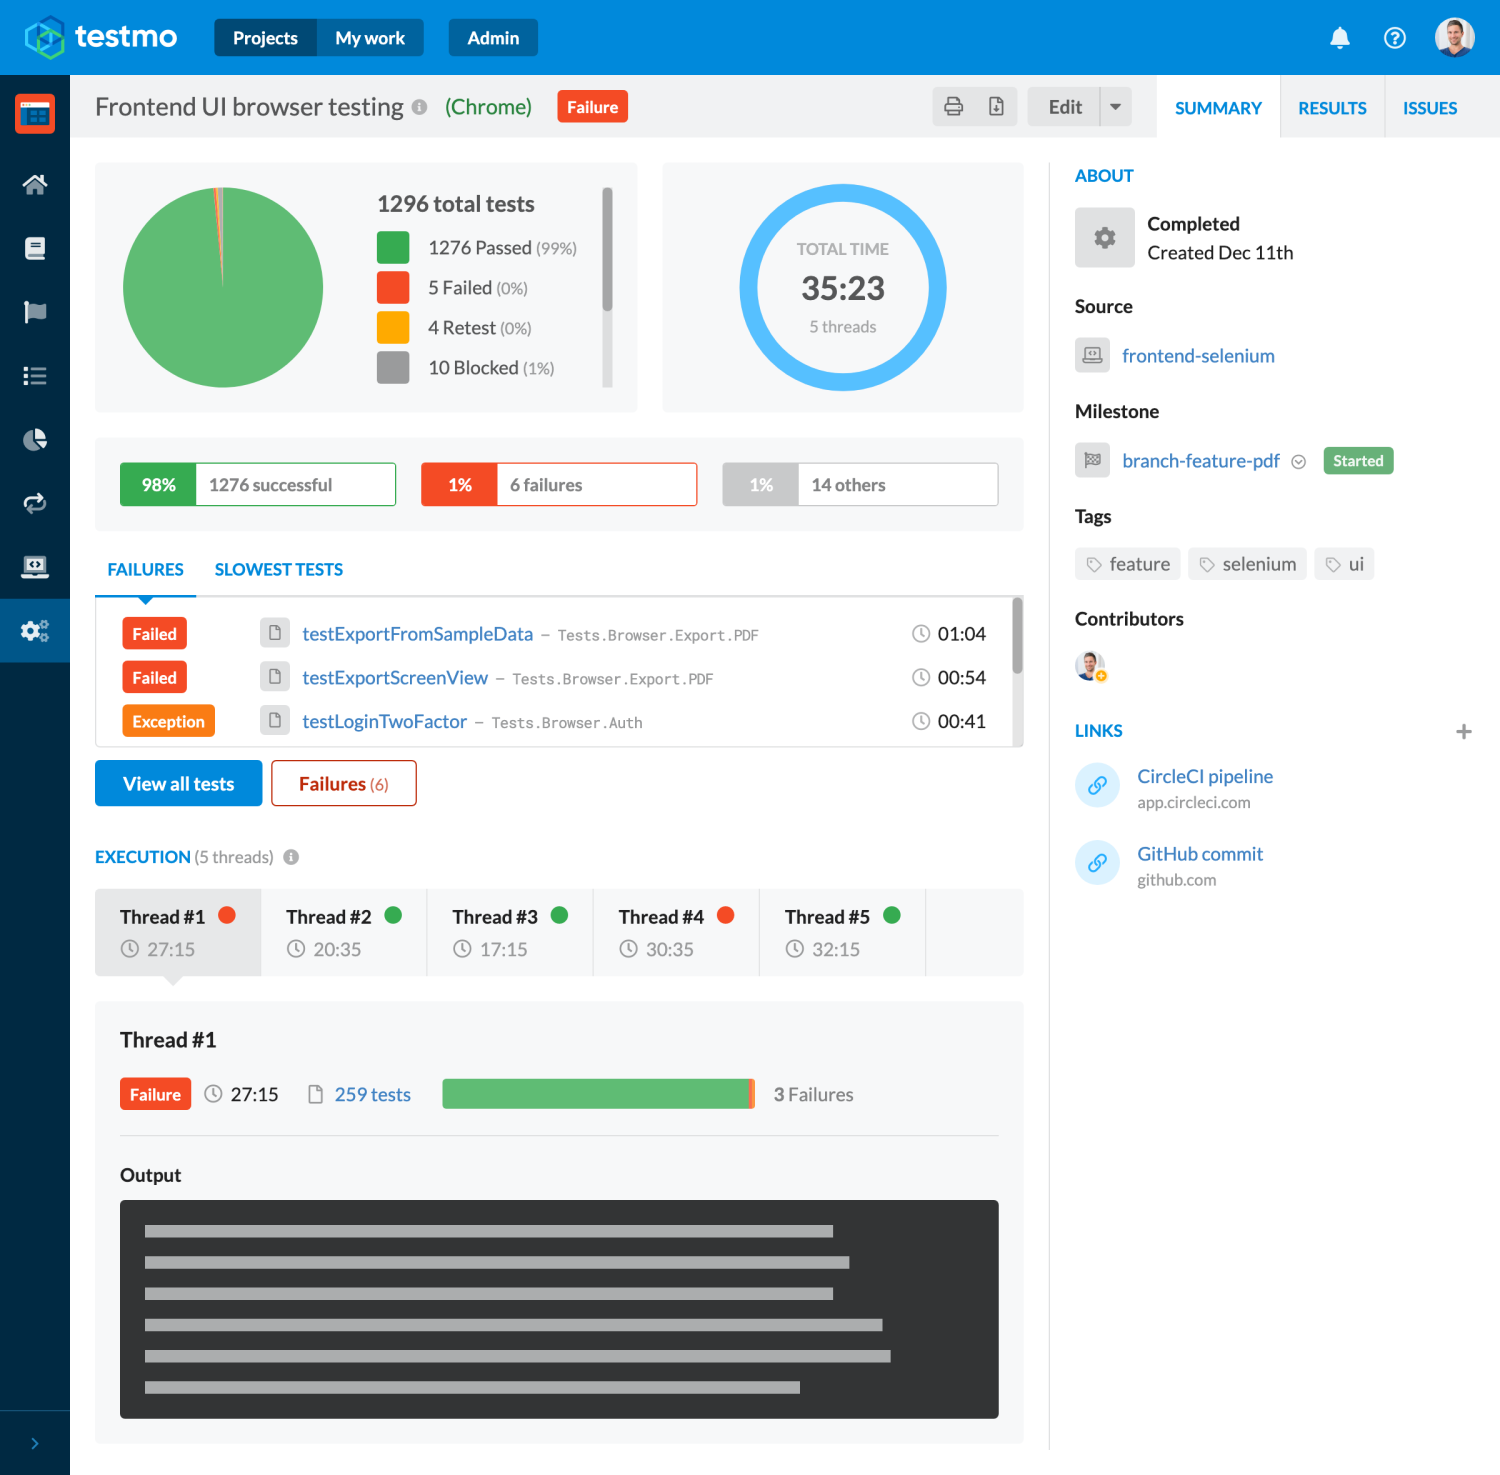
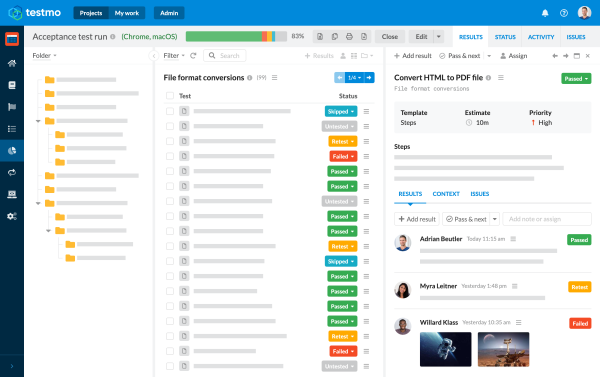
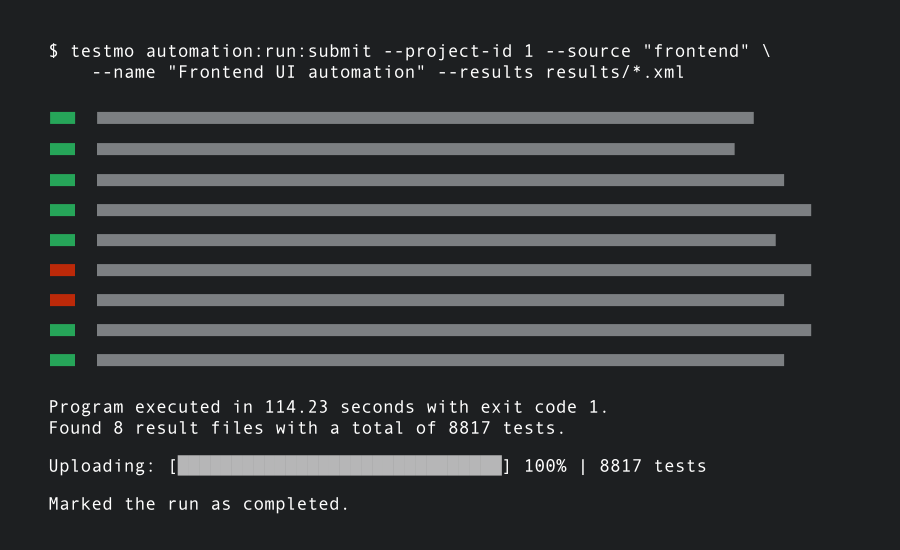
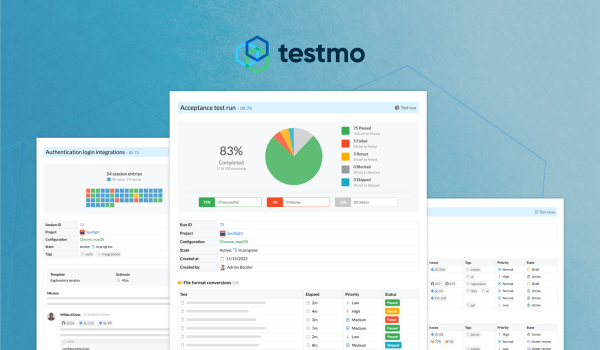
- Reporting results to test management
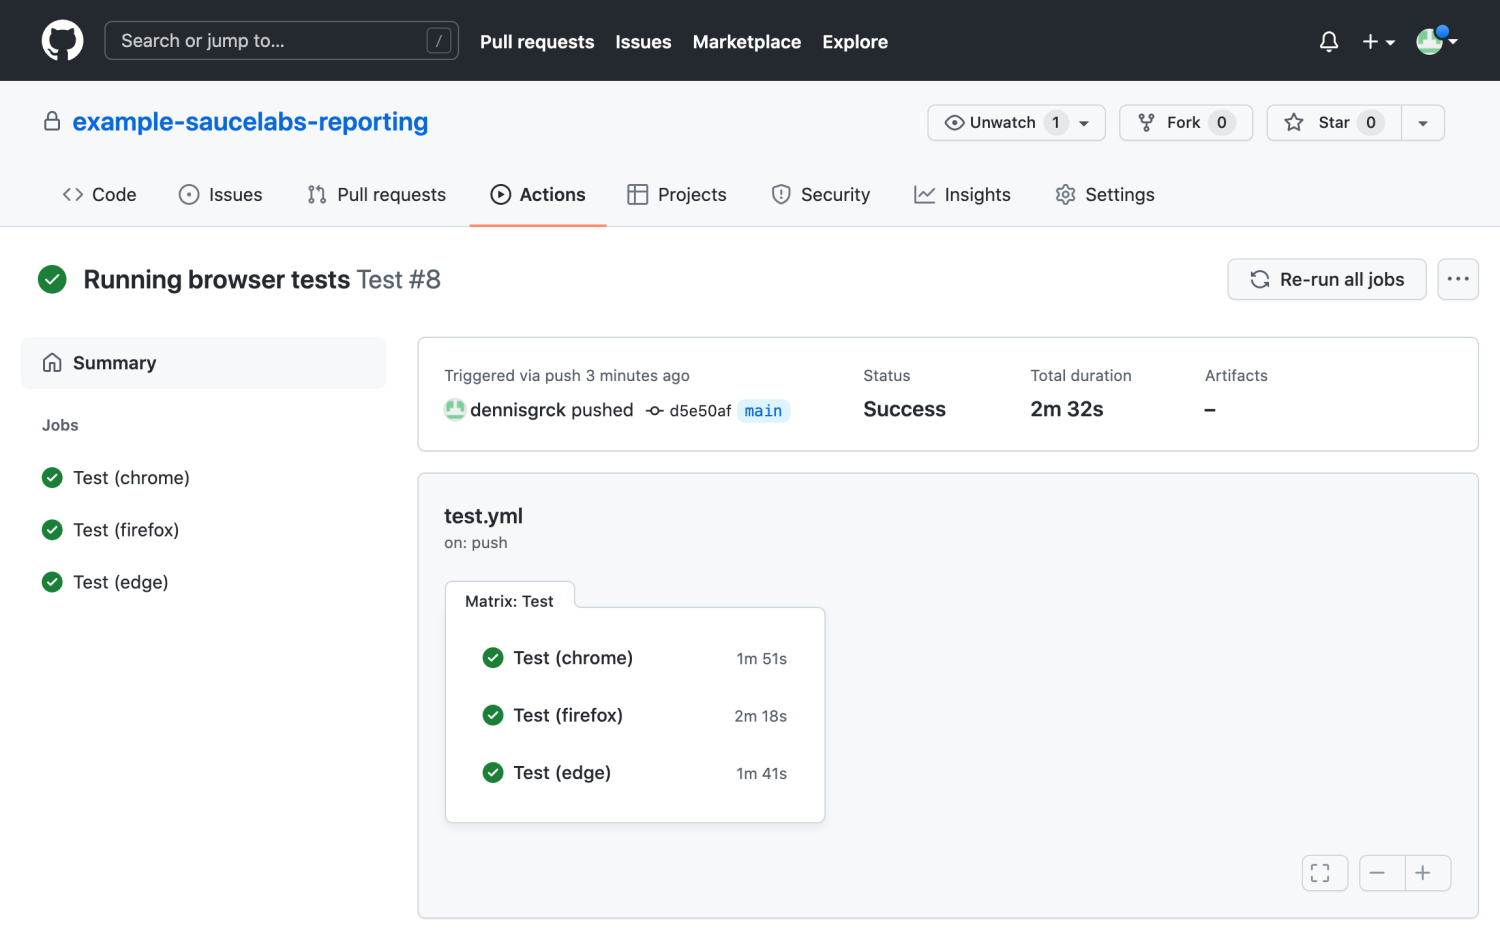
- Integrating with GitHub Actions CI
If you are new to Selenium, you might also find our complete guide on Selenium test automation useful. Let's look at Sauce Labs reporting and test automation next!